How to Add an Additional Website on MochaHost
If you’re a website owner or aspiring to be one, expanding your online presence by adding more websites can be a powerful way to reach new audiences and diversify your content. MochaHost, a popular web hosting provider, offers flexible hosting plans that allow you to add multiple websites under a single account.
This blog post will guide you through the process of adding an additional website on MochaHost, from start to finish, ensuring you make the most out of your hosting plan.
Special Deal Alert!. Enjoy our 30 day money-back guarantee – no questions asked.
MochaHost
MochaHost is known for its reliable and affordable web hosting services, catering to everyone from beginners to seasoned web developers. One of the key advantages of using MochaHost is the ability to host multiple websites on a single account, depending on the hosting plan you choose.
Whether you’re running a small blog or managing multiple business websites, knowing how to add an additional website on MochaHost can save you both time and money.
In this comprehensive guide, we’ll walk you through the steps required to successfully add a new website to your existing MochaHost account. We’ll cover everything from choosing the right hosting plan to configuring domain settings, setting up your website files, and ensuring that your new site is fully functional. By the end of this article, you’ll have all the knowledge you need to seamlessly add website on MochaHost and manage it alongside your existing sites.
MochaHost’s Hosting Plans
Before diving into the technical steps of adding a website, it’s essential to understand the different hosting plans MochaHost offers. Each plan has its own set of features, and not all of them support multiple websites. Here’s a brief overview:
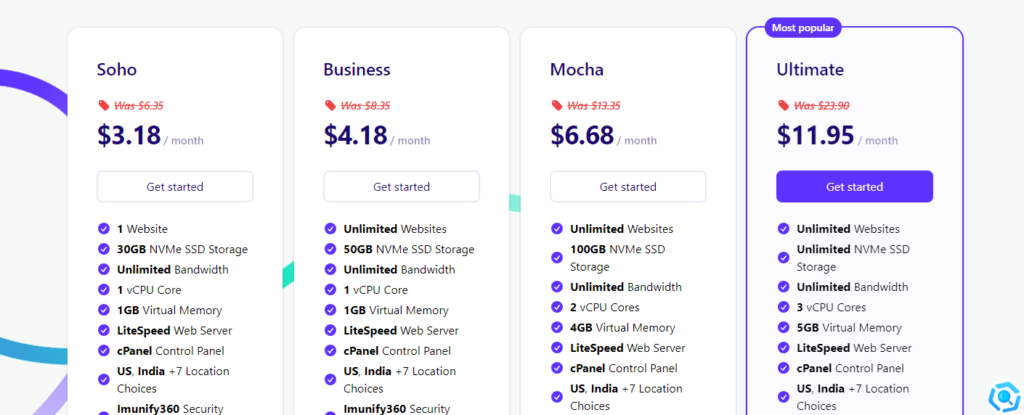
- Single Domain Plan: This is the most basic plan, suitable for users who only need to host one website. If you’re on this plan and want to add a second website, you’ll need to upgrade to a plan that supports multiple domains.
- Multi-Domain Plan: As the name suggests, this plan allows you to host multiple websites under a single account. Depending on the specific plan (e.g., Business, Mocha, or Reseller), you may be able to host anywhere from a few to an unlimited number of websites.
- Reseller Hosting: This plan is ideal for users who want to manage multiple clients or websites. It allows you to create separate accounts for each website, providing more control and flexibility.
Before proceeding, log into your MochaHost account and check which plan you’re currently on. If you’re not on a plan that supports multiple websites, consider upgrading to one that does.
Registering a New Domain
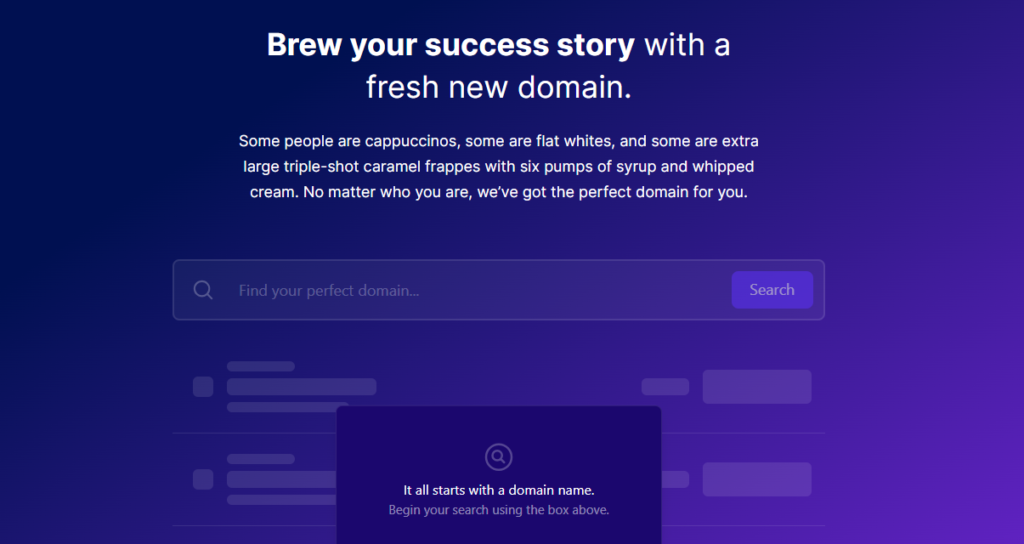
The first step in adding an additional website on MochaHost is to register a new domain name, if you haven’t already. A domain name is your website’s address on the internet, and each website must have a unique one. Here’s how to register a new domain through MochaHost:
- Log in to Your MochaHost Account: Use your credentials to access your MochaHost control panel.
- Navigate to the Domain Section: In your account dashboard, look for the “Domains” section and click on it.
- Search for a Domain Name: Use the domain search tool to find an available domain name that suits your new website. MochaHost offers a wide range of domain extensions, from the standard .com, .net, and .org to newer options like .tech and .store.
- Register the Domain: Once you’ve found an available domain, follow the prompts to register it. You’ll need to provide some basic information and choose the registration period (e.g., 1 year, 2 years).
- Confirm and Pay: Review your order and proceed to payment. MochaHost often offers discounts on domain registrations, so keep an eye out for any promotions.
If you already have a domain registered with another provider, you can skip this step and proceed to adding the domain to your MochaHost account, which we’ll cover in the next section.
- How to choose the perfect domain for your additional website on MochaHost
- The Benefits of Hosting Multiple Websites on One MochaHost Account
- Step-by-Step Guide: Activating a Free WordPress SSL Certificate on MochaHost
Adding the New Domain to Your MochaHost Account
After securing a domain name, the next step is to add it to your MochaHost account. This process links your new domain with your hosting account, allowing you to set up and manage your website. Here’s how to do it:
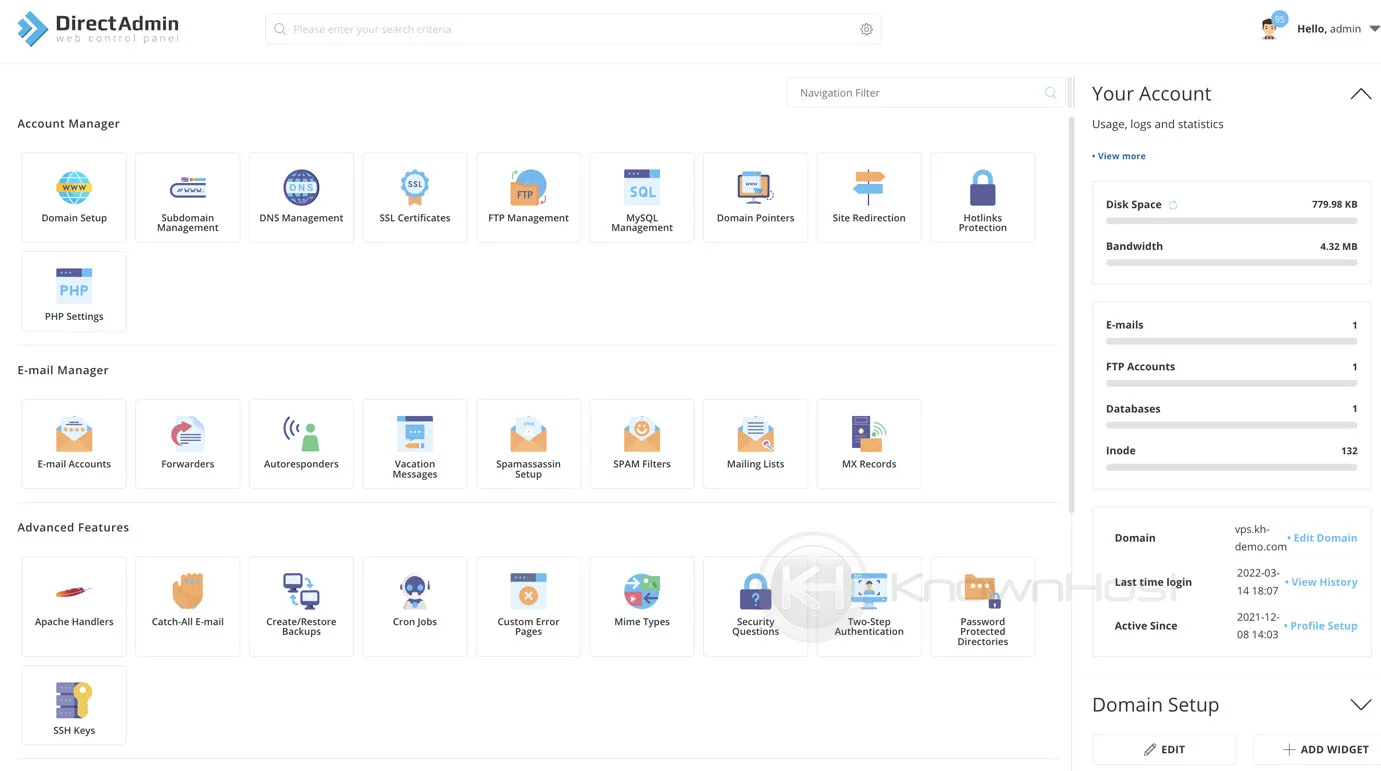
- Access the MochaHost Control Panel: Log in to your MochaHost account and navigate to the control panel (cPanel or Plesk, depending on your hosting plan).
- Locate the Domains Section: In your control panel, find the “Domains” section. Here, you’ll see options like “Addon Domains,” “Subdomains,” and “Aliases.”
- Select Addon Domains: Click on “Addon Domains” if you’re adding a completely new website. This option is used to add a new domain that will function independently of your primary domain.
- Enter the Domain Details: You’ll be prompted to enter the new domain name, create a subdomain (automatically filled in), and specify the document root (the directory where your website files will be stored).
- Set Up FTP Account (Optional): You can create an FTP account specifically for this new domain, which is useful if someone else will be managing the website or if you want separate FTP access.
- Click Add Domain: After filling in all the required details, click “Add Domain.” MochaHost will now link your new domain to your account, and you’ll be able to manage it through your control panel.
If your domain is registered with another provider, make sure to update the DNS settings to point to MochaHost’s nameservers. This step is crucial for ensuring that your domain directs visitors to the correct server.
Upto 25%
OFF
Uploading Your Website Files
With your new domain added to your MochaHost account, the next step is to upload your website files. Whether you’re creating a new site from scratch or transferring an existing one, this process involves moving your website’s files to the server. Here’s how to do it:
- Prepare Your Files: Ensure all your website files are organized and ready for upload. This includes HTML, CSS, JavaScript, images, and any other assets your site requires.
- Access File Manager or FTP: Log in to your MochaHost control panel and navigate to “File Manager” or use an FTP client like FileZilla. The File Manager allows you to manage your website files directly through your browser, while FTP provides more flexibility for large file transfers.
- Navigate to the Document Root: In File Manager or your FTP client, navigate to the document root for your new domain. This is the directory you specified when adding the domain in the previous section.
- Upload Files: Use the upload feature in File Manager or drag and drop your files in the FTP client to transfer them to the server. Ensure that all files are placed in the correct directories (e.g., images in the “images” folder, scripts in the “js” folder).
- Set Permissions: After uploading, check the file permissions to ensure your files are readable and executable by the server. In most cases, directories should have permissions set to 755 and files to 644.
- Test Your Website: Once the upload is complete, visit your new domain in a web browser to check if everything is working correctly. If you encounter any issues, double-check your file paths and permissions.
Also read: The benefits of hosting multiple websites on one MochaHost account
Setting Up Databases (If Needed)

Many websites, particularly those running on content management systems (CMS) like WordPress, require a database to store content, user data, and settings. If your new website needs a database, follow these steps to set it up on MochaHost:
- Access the Database Section: Log in to your MochaHost control panel and find the “Databases” section. Depending on your plan, you might see options like “MySQL Databases” or “phpMyAdmin.”
- Create a New Database: Click on “MySQL Databases” and enter a name for your new database. This name should be unique and related to your new website.
- Create a Database User: After creating the database, you’ll need to create a user who can access it. Provide a username and a strong password, then assign the user to the new database with full privileges.
- Configure Your Website to Use the Database: If you’re using a CMS like WordPress, you’ll need to enter your database details (name, username, password, and host) into the configuration file (e.g.,
wp-config.phpfor WordPress). - Test the Database Connection: Before proceeding, ensure that your website can connect to the database. This step is often part of the CMS installation process, where you’ll see a success message if the connection is successful.
- Manage Your Database: Use phpMyAdmin or another database management tool provided by MochaHost to manage your database. You can perform tasks like backing up, importing, and exporting data from here.
Configuring DNS Settings
For your new website to be accessible on the internet, you need to configure the DNS settings for your domain. This process involves pointing your domain name to MochaHost’s servers. Here’s how to do it:
- Log in to Your Domain Registrar: If your domain is registered with MochaHost, you can manage DNS settings directly in your account. If it’s with another registrar, log in to their platform.
- Find DNS Settings: Look for the section in your registrar’s control panel labeled “DNS Settings” or “Nameservers.”
- Update Nameservers: Replace the existing nameservers with MochaHost’s nameservers. These are typically ns1.mochahost.com and ns2.mochahost.com, but you should confirm the exact details from MochaHost.
- Save Changes: After updating the nameservers, save your changes. Note that DNS propagation can take up to 48 hours, so your website might not be immediately accessible.
- Verify DNS Propagation: Use a tool like WhatsMyDNS to check if your DNS changes have propagated worldwide. Enter your domain name and check if the nameservers have updated correctly.
- Check Your Website: Once DNS propagation is complete, visit your domain in a browser to confirm that it’s pointing to your MochaHost account and displaying your new website.
Installing an SSL Certificate
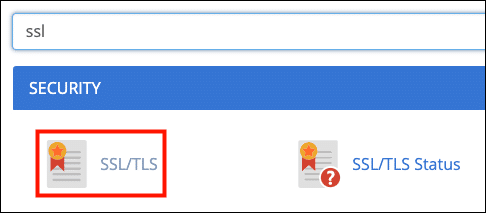
Security is a crucial aspect of running a website, especially if you’re handling sensitive information like customer data. Installing an SSL certificate ensures that your website is encrypted and secure. Here’s how to install an SSL certificate on MochaHost:
- Access the SSL/TLS Section: Log in to your MochaHost control panel and find the “SSL/TLS” section. This is where you’ll manage your SSL certificates.
- Generate a Certificate Signing Request (CSR): If you haven’t already purchased an SSL certificate, generate a CSR through MochaHost. This request contains information about your domain and is required to purchase a certificate.
- Purchase and Install the SSL Certificate: MochaHost offers free Let’s Encrypt SSL certificates, which you can install directly through your control panel. If you prefer a paid SSL certificate, purchase one and use the CSR to complete the order.
- Install the Certificate: After receiving your SSL certificate, return to the SSL/TLS section and use the “Install and Manage SSL for your site” option. Paste the certificate details into the provided fields and install it.
- Verify SSL Installation: Visit your website using https:// to ensure the SSL certificate is working correctly. You should see a padlock icon in the browser’s address bar, indicating that your site is secure.
- Force HTTPS: To ensure all traffic to your website is encrypted, set up a redirect in your .htaccess file to force HTTPS. This step ensures that visitors are always directed to the secure version of your site.
Frequently Asked Questions (FAQs)
Frequently Asked Questions (FAQs) About Adding Additional Websites on MochaHost
Can I add multiple websites to my MochaHost account?
Yes, you can add multiple websites to your MochaHost account, depending on the hosting plan you have. The process involves configuring domain settings, uploading website files, and updating DNS records.
Do I need to purchase a new domain to add an additional website?
Not necessarily. You can either use an existing domain that you own or register a new one through MochaHost during the website addition process.
How do I configure DNS settings for my new website?
In the MochaHost control panel, navigate to the DNS configuration section for the added domain. Update the name servers to MochaHost’s DNS servers to ensure proper domain resolution.
Can I upload website files directly through the MochaHost control panel?
Yes, MochaHost provides a File Manager in the control panel for easy file uploads. Alternatively, you can use FTP software to transfer your website files to the hosting server.
What should I do if my website is not loading after adding it to MochaHost?
Check for common issues such as DNS propagation delays, file permission errors, or misconfigurations. Refer to MochaHost’s support documentation or contact their customer support for assistance.
Is there a limit to the number of email accounts I can set up for my additional website?
The number of email accounts may depend on your hosting plan. Check your plan specifications or contact MochaHost support for information on email account limits.
Can I customize the directory where my new website’s files are stored?
Yes, during the domain configuration process, you can specify the directory where your website files will be stored. This allows for organization and efficient management of multiple websites.
Are there any security considerations when adding additional websites on MochaHost?
Yes, it’s recommended to implement security measures such as regular backups and keeping your website software up to date. MochaHost provides security features, and following best practices will help safeguard your websites.
Conclusion
Adding an additional website on MochaHost is a straightforward process that can significantly enhance your online presence. By following the steps outlined in this guide, you can successfully add website on MochaHost, ensuring that it is secure, functional, and fully integrated into your hosting account.
Whether you’re expanding your business, launching a new blog, or simply diversifying your online portfolio, MochaHost provides the tools and flexibility needed to manage multiple websites efficiently. From choosing the right hosting plan to configuring domains, uploading files, and securing your site with SSL, this guide has covered everything you need to know.
If you found this guide helpful or have any questions, feel free to leave a comment below. We’re here to help you make the most of your MochaHost experience!
Additional Resources
