Are you looking to start a website using WordPress but not sure how to install it on your HostGator hosting account? Installing WordPress can seem overwhelming, but with a comprehensive step-by-step tutorial, you’ll be up and running in no time.
Jump to
ToggleWordPress is one of the most popular content management systems for creating websites. HostGator is a popular web hosting provider known for its user-friendly interface and reliable service. By combining the two, you can create a dynamic website for your business, blog, or online portfolio.
In this tutorial, we will walk you through the process of installing WordPress on HostGator. Whether you’re a beginner or have some experience with website development, this guide will simplify the installation process and help you get your website up and running quickly. Let’s dive in and get started with installing WordPress on HostGator.

Get Upto 70% on HostGator All Plans (2025)
How to Install WordPress on HostGator (A Comprehensive Guide)
Before diving into the installation process, it’s crucial to understand some fundamental concepts:
What is WordPress?
WordPress is an open-source CMS that powers millions of websites globally. It simplifies the process of creating and managing content, allowing users to build professional-looking websites without extensive coding knowledge.
Why Choose HostGator?
HostGator is a leading web hosting provider known for its excellent customer service, reliable servers, and user-friendly control panel. Their hosting plans cater to a wide range of needs, making them an ideal choice for beginners and experienced users alike.
Purchasing a HostGator Plan
To get started, you’ll need to sign up for a HostGator hosting plan. Follow these steps:
1) Visit HostGator’s Website
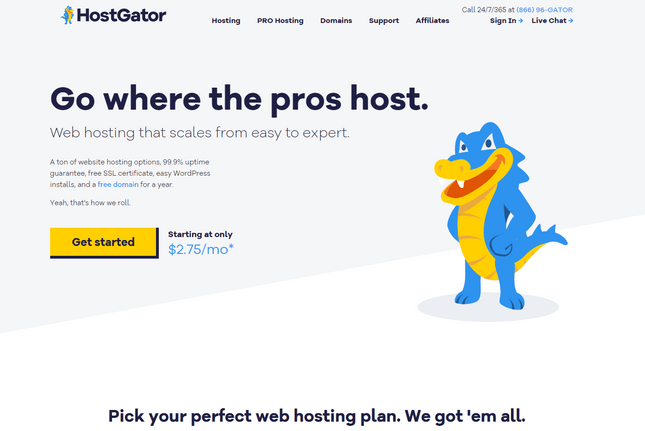
Navigate to the HostGator website and click on the “Get Started Now” button.
2) Choose a Hosting Plan
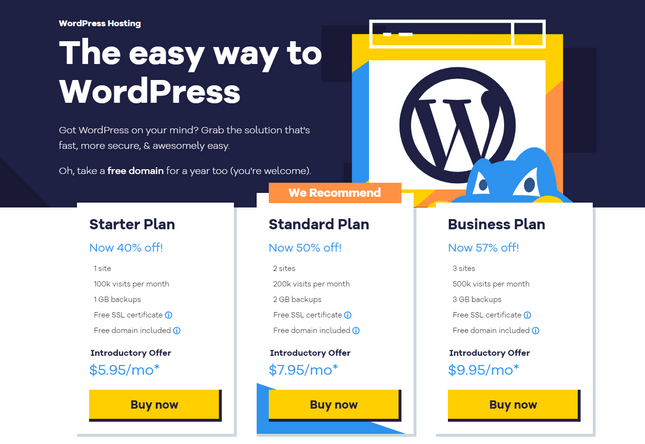
HostGator offers various hosting plans. Select the plan that best suits your needs, keeping factors like budget, website size, and expected traffic in mind.
3) Register a Domain Name
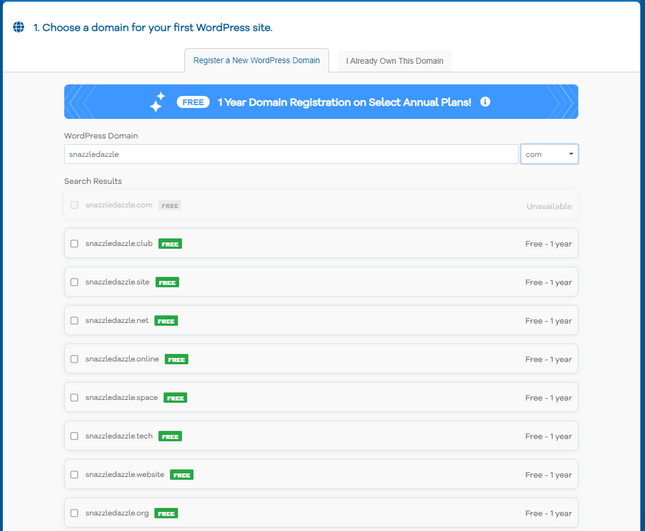
If you don’t have a domain name yet, you can register one through HostGator during the signup process. Alternatively, you can use an existing domain if you have one.
4) Complete the Signup Process
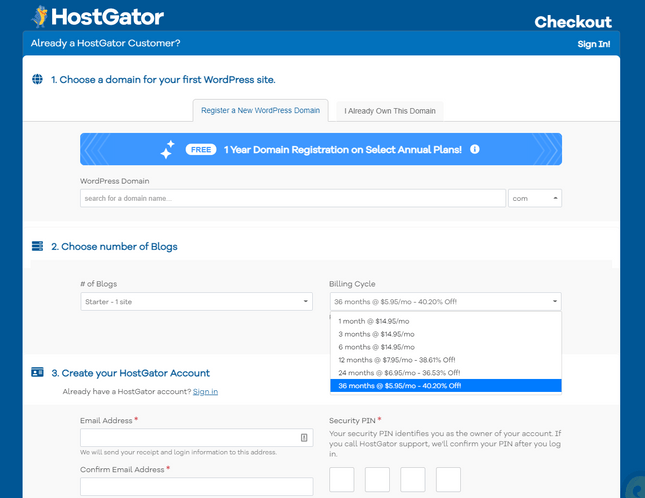
Fill in your account information, choose a hosting plan duration, and add any additional services you might need. Review your order and complete the payment process.
Accessing the HostGator Control Panel (cPanel)
After successfully signing up for a HostGator plan, you’ll gain access to the cPanel, which is the control panel for managing your hosting account.
Log in to the cPanel
Check your email for the login details, including your username and password. Once logged in, locate the “Your Control Panel” section and click on the link provided.
Installing WordPress with QuickInstall
HostGator simplifies the WordPress installation process by offering QuickInstall, a one-click installer within the cPanel.
1) Find QuickInstall
Within the cPanel, locate the “Software” section, and click on the “QuickInstall” icon.

2) Select WordPress
In the QuickInstall dashboard, find and click on the “WordPress” icon under the “Popular Installs” section.
3) Begin the Installation
Click on the “Install WordPress” button to start the installation process.
4) Choose Your Domain
Select the domain where you want to install WordPress from the dropdown menu. If you have multiple domains, choose the one associated with the website you’re building.
5) Configure Settings
Fill in the required information, including the site name, site description, admin username, and admin email. Choose a strong password for your admin account.
6) Complete the Installation
Review your configuration settings, double-check the information you’ve entered, and click the “Install” button to initiate the installation.
7) Confirmation
Once the installation is complete, you’ll receive a confirmation message with your WordPress login details. Make sure to save this information for future reference.
Accessing Your WordPress Dashboard
Now that WordPress is installed, you can access your website’s admin dashboard to start customizing and creating content.
1) Visit Your Website
Open a new browser tab and enter your domain name in the address bar. You should see your WordPress website.
2) Log in to the WordPress Dashboard
To access the admin dashboard, add “/wp-admin” to the end of your domain (e.g., www.yourdomain.com/wp-admin). Enter the admin username and password provided during installation.
Exploring the WordPress Dashboard
Before diving into content creation, familiarize yourself with the WordPress dashboard’s key components.
1) Dashboard Overview
The dashboard provides an overview of your site, including recent activity, comments, and quick access to essential tools.
2) Menu Navigation
Explore the menu on the left side, where you’ll find options for posts, pages, media, appearance, plugins, and more. Take some time to navigate through these sections to understand their functionalities.
Customizing Your WordPress Site
Now that you’re acquainted with the basics, it’s time to customize your WordPress site to match your preferences and branding.
1) Choose a Theme

Navigate to “Appearance” and then “Themes” in the dashboard. Browse and choose a theme that suits your website’s purpose. You can install a new theme directly from the WordPress repository or upload a custom theme.
2) Customize the Site
Access the “Customize” option under “Appearance” to personalize your site further. Here, you can modify the site title, tagline, colors, fonts, and more.
3) Install Essential Plugins
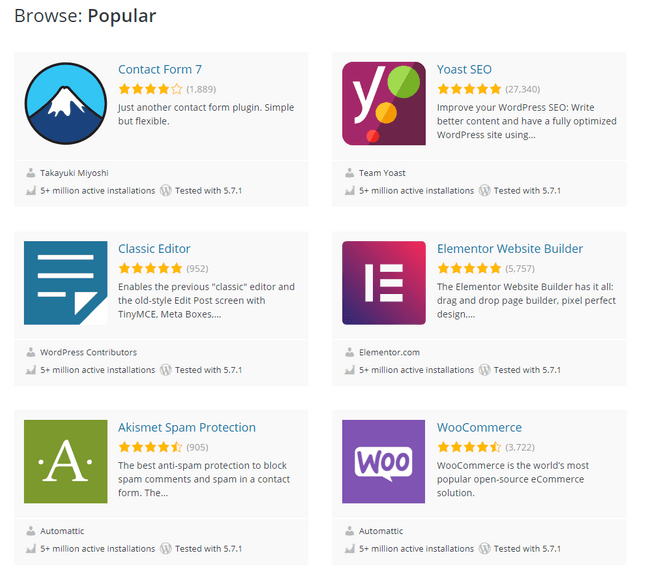
Visit the “Plugins” section to enhance your site’s functionality. Popular plugins include Yoast SEO for search engine optimization, Contact Form 7 for creating forms, and W3 Total Cache for performance optimization.
Adding Content to Your WordPress Site
Now that your site is customized, it’s time to add content.
1) Create Pages and Posts
Navigate to the “Pages” and “Posts” sections to add static pages (like Home, About, and Contact) and dynamic blog posts. Use the built-in editor to format text, add images, and embed media.
2) Media Library
Upload and manage images, videos, and other media files in the “Media” library. This centralizes your media assets for easy access when creating content.
Ensuring Website Security and Maintenance
To keep your WordPress site secure and running smoothly, implement these essential measures.
1) Update WordPress Regularly
Stay on top of updates to benefit from the latest features and security enhancements. You can update WordPress, themes, and plugins from the “Updates” section.
2) Backup Your Site
Regularly back up your website to prevent data loss. HostGator provides backup options, but you can also use plugins like UpdraftPlus for additional backup capabilities.
3) Install a Security Plugin
Enhance your site’s security by installing a reputable security plugin like Wordfence or Sucuri. These plugins help protect your site from malware, brute force attacks, and other security threats.
Ready to Get Start with Hostgator?
Start your online Journey with Hostgator to Get Upto 70% Off on All Hosting Plans
Final Words
Congratulations! You’ve successfully installed WordPress on HostGator and taken the first steps toward building your online presence. This comprehensive guide has covered everything from purchasing a hosting plan to customizing your site and ensuring its security. As you continue to explore and expand your website, remember that WordPress offers a vast ecosystem of themes, plugins, and resources to help you achieve your unique goals. Whether you’re a blogger, business owner, or creative professional, WordPress on HostGator provides a solid foundation for your online success.


